Here we will guide you through the process of setting up a Ledger Nano S Plus, a type of hardware wallet.
Connecting the Device:
Plug the Ledger Nano S Plus into your computer using a USB-C cable.
You will see the welcome screen. Press the right button to continue.
Downloading Ledger Live:
Visit Ledger Live to download and install the software on your computer.
Navigating the Menu:
Use the buttons on the Ledger device to navigate through the menus.
Select "Set up as new device" and double-click to proceed.
Setting a PIN:
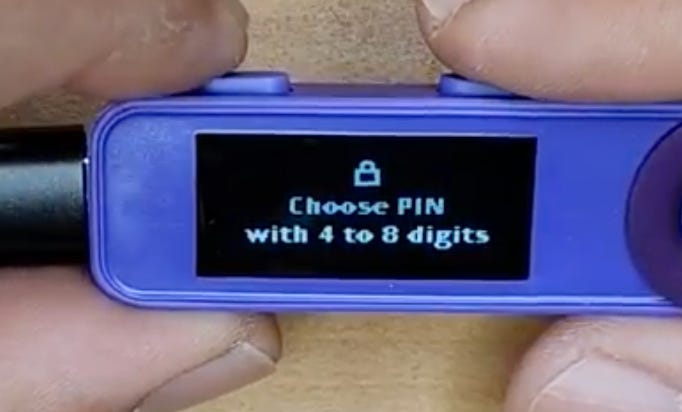
Choose a PIN code between 4 to 8 digits. For this example, we used "3711".
Write down your PIN code and store it safely.
Writing Down the Recovery Phrase:
The device will generate a 24-word recovery phrase.
Write down these words in the exact order provided. This phrase is your only backup, so do not lose it.
Verify the recovery phrase by following the prompts on the device.
Connecting to Ledger Live:
Open Ledger Live on your computer and ensure your device is connected and unlocked.
Follow the instructions on Ledger Live to allow a secure connection.
Installing Apps:
Install the necessary cryptocurrency apps (e.g., Bitcoin, Ethereum) on your Ledger device through Ledger Live.
Enable "blind signing" if required for transactions with certain wallets like MetaMask.
Adding Accounts to MetaMask:
Open MetaMask and add your Ledger hardware wallet by selecting "Connect Hardware Wallet".
Follow the prompts to connect and add your Ledger accounts.
By following these steps, you will successfully set up your Ledger Nano S Plus and be ready to securely manage your cryptocurrencies.
This content is for educational purposes only and is not sponsored or endorsed by any company or entity. The information provided does not constitute financial advice and should not be taken as such. Please consult a financial professional before making any investment decisions.


